In the world of competitive gaming, precision and efficiency can often make the difference between victory and defeat. For Counter-Strike 2 (CS2) players, having the right settings and configurations is crucial to excel in the game. One of the essential tools at your disposal is the autoexec.cfg file, a configuration file that allows you to customize various in-game settings to suit your preferences and gameplay style. In this article, we will guide you through the process of creating and using an autoexec.cfg file for CS2, helping you gain that competitive edge.
Quick Links
What is an autoexec.cfg File?
Before we dive into the nitty-gritty details, let’s establish what an autoexec.cfg file is. Essentially, it is a plain text configuration file that CS2 reads every time you launch the game. This file allows you to override default settings, bind keys, adjust graphics, and fine-tune other game-related configurations.
Location of the autoexec.cfg file
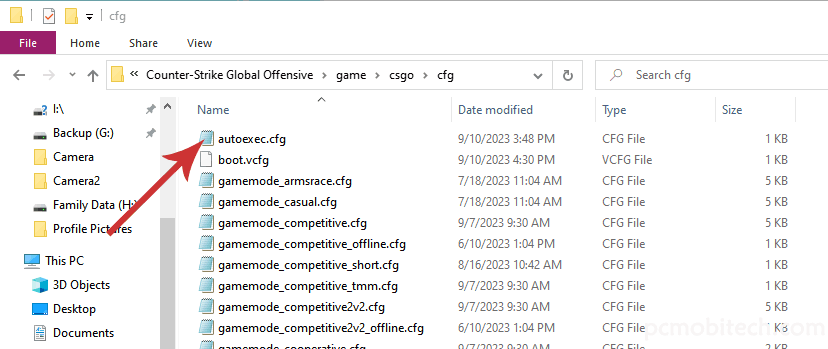
The autoexec.cfg file is typically located in the “cfg” folder within your CS2 installation directory. If you can’t find it, don’t worry; you can create one yourself.
Creating Your autoexec.cfg File
Step 1:Locate your CS2 installation directory
First, you need to find where CS2 config will be placed on your computer. Currently CS2 in beta stage and the default location is usually “C:\Program Files (x86)\Steam\steamapps\common\Counter-Strike Global Offensive\game\csgo”
Step 2: Navigate to the “cfg” folder
Once you’ve located the installation directory, open it and look for the “cfg” folder. This is where you will create your autoexec.cfg file.
Step 3: Create the autoexec.cfg file
Right-click within the “cfg” folder, select “New,” and then choose “Text Document.” Rename the new document to “autoexec.cfg” (make sure to remove the “.txt” extension).
Step 4: Edit the autoexec.cfg file
Now, you can open the autoexec.cfg file using a text editor like Notepad. This is where you’ll enter the custom configurations and settings.
Customizing Your autoexec.cfg File
Here are some common customizations you can make to your autoexec.cfg file:
alias "+jumpaction" "+jump;"
alias "+throwaction" "-attack; -attack2"
alias "-jumpaction" "-jump"
bind c "+jumpaction;+throwaction;"

alias "+runthrow" "+forward;+jump;"
alias "-runthrow" "-jump;-forward"
bind h "+runthrow;+throwaction"

cl_updaterate "128"
cl_interp "0.015625"
cl_interp_ratio "1"

r_fullscreen_gamma "2.6"
Save and Implement Your autoexec.cfg.
After customizing your autoexec.cfg file to your liking, save the changes and exit the text editor. Now, you’re ready to implement your custom settings.
Step 5: Launch CS2 with your autoexec.cfg
Open CS2 and after that launch CS2 Developer Console, In the console, add the following command:
exec autoexec
Now, every time you start CS2, your custom configurations from the autoexec.cfg file will be applied automatically.
Conclusion
Creating and using an autoexec.cfg file for CS2 can significantly enhance your gaming experience by allowing you to tailor the game settings to your preferences. Whether it’s optimizing graphics, binding keys, or adjusting sensitivity, this customization tool is a must-have for serious CS2 players.
Now, go ahead, fine-tune your settings, and dominate the battlefield with precision and style!
When you purchase through links on our site, we may earn an affiliate commission. Read our Affiliate Policy.