Now all functions of the Android OS are available on the PC because Remix OS has been released for the PC. Remix OS is an Android-based operating system that enables all PC functionalities along with Android features, such as multitasking, keyboard support, right-click support for the mouse, taskbar, Google Play Store, file manager, updates, notifications, and taskbar. It is great for Android lovers because now there is no need to install Bluestacks, which gives us laggy performance. The operating system provides the full power of a PC, allowing users to use two or more apps at the same time in the same window without the need to minimize.
The Remix operating system is installed on a USB drive and does not affect any existing Windows, Linux, or Mac PC files. Therefore, you’ll need a fast USB drive. The official OS developer, Jide, recommends a USB flash drive with write speeds of 20MB/s or faster. If you have a faster USB disk drive, you can easily use Remix OS anywhere. Just create a USB bootable disk and use it with any PC. Let’s learn how to download and create a Remix OS bootable USB disk.
You May Also Like: Top 5 Mobile Operating Systems (Alternatives to Android)
How to Create a Remix OS Bootable USB Drive Using Remix OS USB Tool
Requirement-
- An 8GB or larger USB stick with write speeds of 20MB/s (minimum 10MB/s).
- A Windows operating system to create the USB disk because the USB tool only supports Windows.
- Remix OS ISO with USB tool.
Note: Before creating a Remix OS bootable USB disk, insert a blank USB flash disk drive into the USB port. After this, format the USB disk:
- Right-click on the USB drive icon in the Explorer window and click on Format.
- Select Fat32 from the file system, tick the Quick Format checkbox.
- Click on Start.
Download Remix OS for PC –
Remix OS is now available for everyone. You can download it without any restrictions. Scroll down the page and click on the download link for the 32-bit or 64-bit version. Once you click on the download link, the Remix OS download will start automatically.
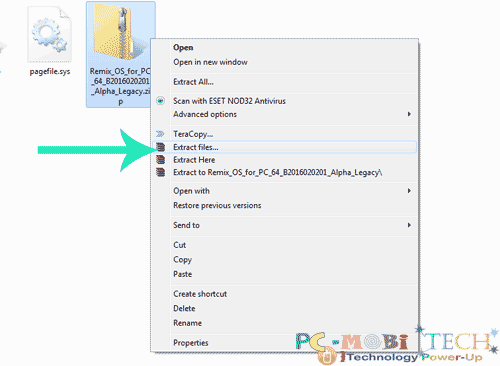
When the download is complete, open the folder containing the Remix OS download. This is a ZIP compressed file that you will need to uncompress. To uncompress the file, right-click on the Remix OS files and click on Extract All, or if you are using Winrar, then Extract files. If prompted for verification for uncompression, click OK to verify.
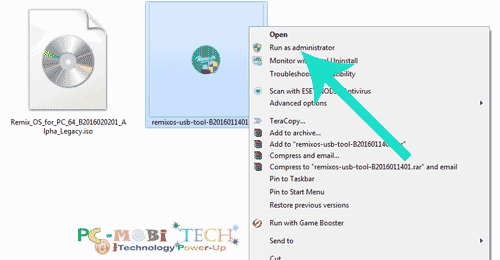
After this, go to the uncompressed folder. The folder contains three files: “How to Launch Remix OS for PC.txt,” “Remix_OS_for_PC ISO file,” and “Remixos-usb-tool.” Now, right-click on “remixos-usb-tool” and click on “Run as administrator” from the context menu.
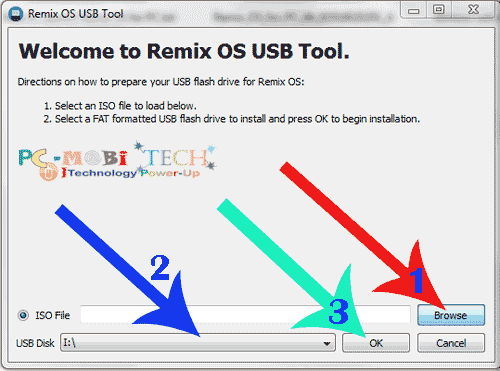
You will see the Remix OS USB Tool main screen:
- Click on Browse and select the Remix_OS_for_PC ISO file from the explorer.
- Select USB Disk from the dropdown list menu.
- Click on OK.
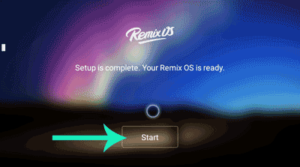
Now, wait a few minutes. When the USB stick is ready for use, the USB Tool window will ask you to restart the window. Then click on the Exit button, or if you want to run it immediately, click on the Reboot Now button to restart
I hope this tutorial helps you!
When you purchase through links on our site, we may earn an affiliate commission. Read our Affiliate Policy.
I have tried repeated times and every time after I finish all the files disappear from the flash drive. Any suggestions?